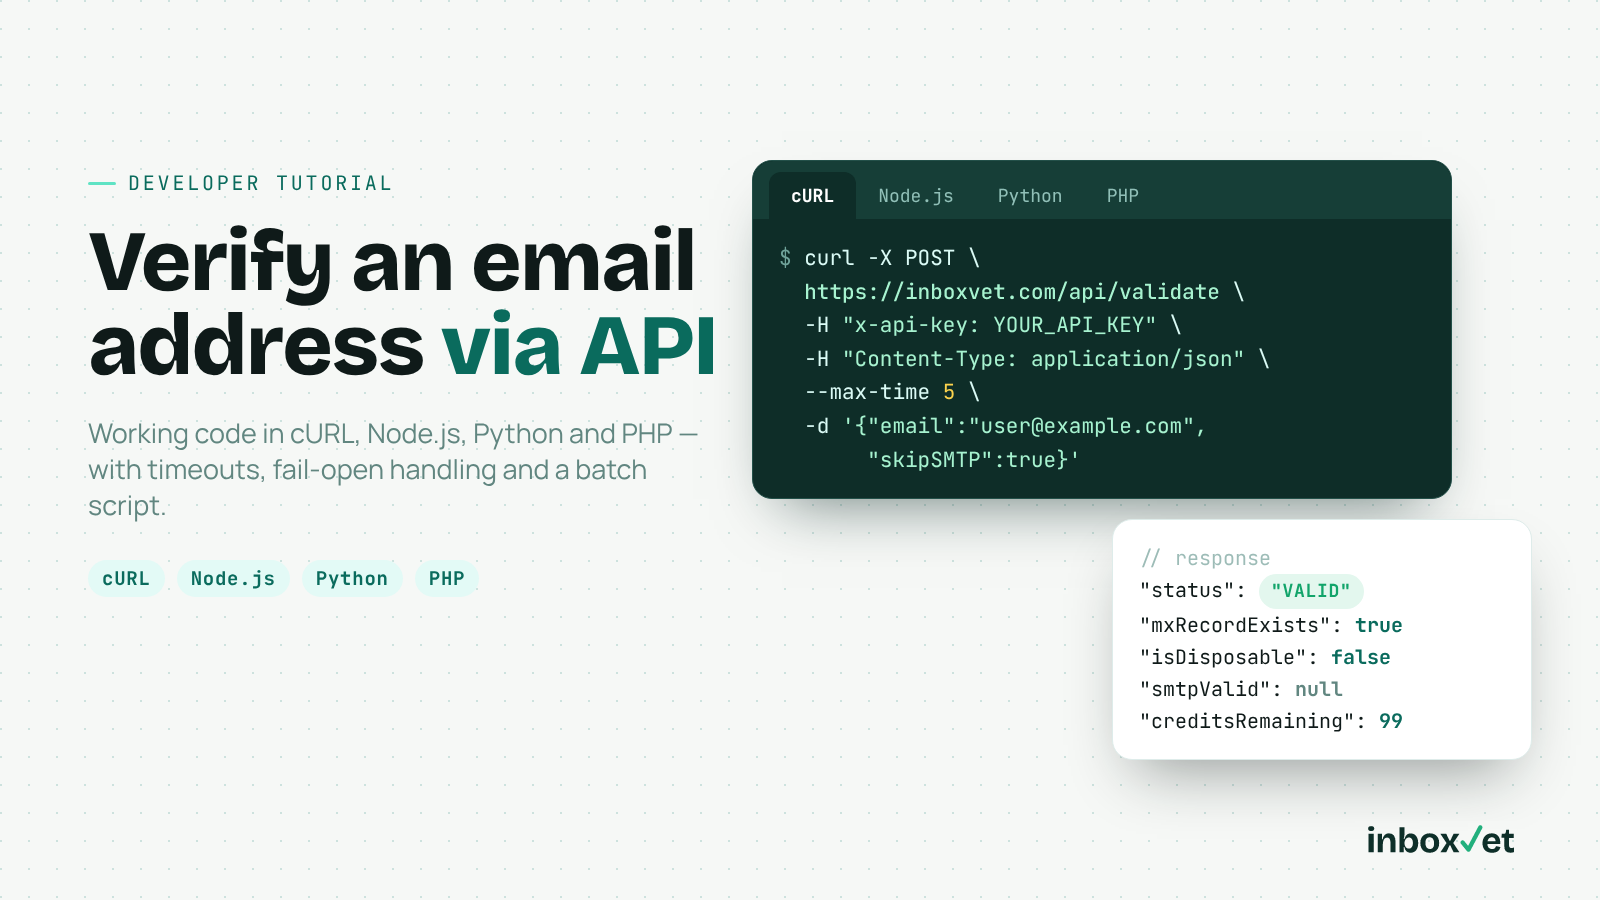
Calling a verify email address API takes about ten lines of code. Calling it well — with the key kept server-side, a sensible timeout, clear messages for users and no lost signups when the network hiccups — takes a bit more thought. This tutorial covers both.
We'll use the InboxVet email verification API to build a working check in cURL, Node.js, Python and PHP, map each response field to a message your users will understand, and then verify a large list with the batch endpoint. At the end there's a short comparison of how ZeroBounce, NeverBounce, Kickbox and InboxVet differ on free tiers and pricing for developers.
Sub-100ms is InboxVet's average response time — fast enough to check an address inline while a user submits a form.
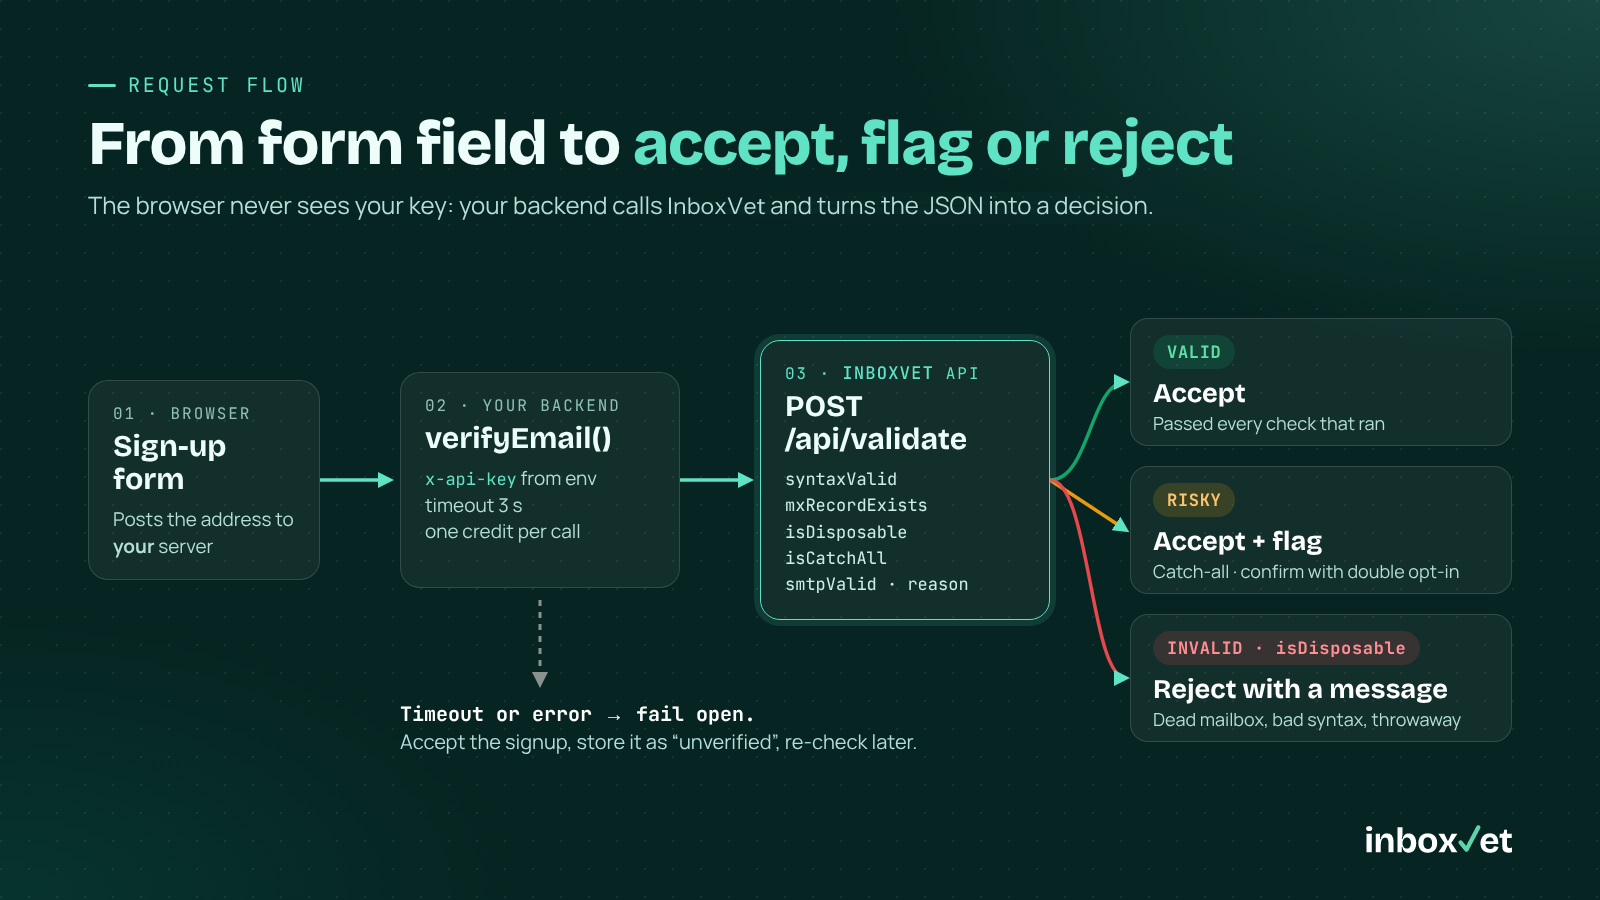
Figure: Request flow — the form posts to your backend, which calls POST /api/validate with the key and turns the result into accept (VALID), flag (RISKY) or reject; timeouts fail open.
Before You Start: What the Verify Email Address API Does
One POST request to https://inboxvet.com/api/validate runs a stack of checks on a single address:
· Syntax — RFC 5322 format, including Unicode domains.
· MX/DNS — the domain has mail servers.
· Disposable detection — throwaway inbox providers are flagged.
· Catch-all detection — domains that accept every address are flagged.
· SMTP mailbox verification — optional; set "skipSMTP": true to skip it for speed.
You'll need an API key (new accounts get 100 free verification credits) and, for the Node.js example, Node 18 or later for built-in fetch. Each call uses one credit, whatever the result. Full reference is in the InboxVet API documentation.
Security: Always call the API from your server, never from browser JavaScript. A key in front-end code can be copied and used to spend your credits. Your form should post to your own backend, which calls InboxVet.
Step 1: Make Your First Request With cURL
Start in the terminal to see the raw response:
curl -X POST https://inboxvet.com/api/validate \
  -H "Content-Type: application/json" \
  -H "x-api-key: YOUR_API_KEY" \
  --max-time 5 \
  -d '{"email":"user@example.com","skipSMTP":true}'
A successful response looks like this:
{
  "success": true,
  "result": {
    "email": "user@example.com",
    "status": "VALID",
    "syntaxValid": true,
    "isDisposable": false,
    "mxRecordExists": true,
    "isCatchAll": false,
    "smtpValid": null,
    "reason": "Email is valid"
  },
  "creditsRemaining": 99
}
status is always VALID, INVALID or RISKY. Because we sent skipSMTP: true, smtpValid is null. Drop that flag (or set it to false) and the API also checks the mailbox over SMTP.
Step 2: Node.js (18+) With a Timeout and Fail-Open
Two production rules for any verify email address API call: set a timeout so a slow network never blocks signup, and fail open — if the check errors or times out, accept the address and re-verify later.
// verify.mjs — run with: INBOXVET_API_KEY=... node verify.mjs
const API_URL = 'https://inboxvet.com/api/validate';
const API_KEY = process.env.INBOXVET_API_KEY;

export async function verifyEmail(email, { skipSMTP = false, timeoutMs = 3000 } = {}) {
  try {
    const res = await fetch(API_URL, {
      method: 'POST',
      headers: { 'Content-Type': 'application/json', 'x-api-key': API_KEY },
      body: JSON.stringify({ email, skipSMTP }),
      signal: AbortSignal.timeout(timeoutMs),
    });
    const data = await res.json().catch(() => null);
    if (!res.ok || !data?.success) {
      // 401 = bad or missing key; other failures include running out of credits
      console.error(`InboxVet HTTP ${res.status}`, data);
      return null; // fail open
    }
    return data.result;
  } catch (err) {
    // TimeoutError or network failure
    console.error('InboxVet unreachable:', err.name);
    return null; // fail open
  }
}

const result = await verifyEmail('user@example.com', { skipSMTP: true });
console.log(result ? `${result.status}: ${result.reason}` : 'Unchecked, accepting (fail open)');
💡 Developer Tip: Store addresses that came back null with an "unverified" flag and re-check them from a background job. You keep the signup and still catch bad data before your first send.
Step 3: Python With requests
The same logic in Python. Passing json= to requests.post serialises the body and sets the Content-Type header for you.
# verify.py — pip install requests
import os
import requests

API_URL = "https://inboxvet.com/api/validate"
API_KEY = os.environ["INBOXVET_API_KEY"]


def verify_email(email, skip_smtp=False, timeout=3.0):
    try:
        resp = requests.post(
            API_URL,
            json={"email": email, "skipSMTP": skip_smtp},
            headers={"x-api-key": API_KEY},
            timeout=timeout,
        )
    except requests.RequestException as exc:
        print(f"InboxVet unreachable: {exc}")
        return None  # fail open

    try:
        data = resp.json()
    except ValueError:
        data = None

    if not resp.ok or not data or not data.get("success"):
        # 401 = bad or missing key; other failures include running out of credits
        print(f"InboxVet HTTP {resp.status_code}: {data}")
        return None  # fail open
    return data["result"]


if __name__ == "__main__":
    result = verify_email("user@example.com", skip_smtp=True)
    if result:
        print(f"{result['status']}: {result['reason']}")
    else:
        print("Unchecked, accepting (fail open)")
Step 4: PHP With cURL
PHP's cURL extension needs both a connect timeout and a total timeout:
<?php
// verify.php — run with: INBOXVET_API_KEY=... php verify.php
function verifyEmail(string $email, bool $skipSmtp = false, int $timeout = 3): ?array
{
    $ch = curl_init('https://inboxvet.com/api/validate');
    curl_setopt_array($ch, [
        CURLOPT_POST           => true,
        CURLOPT_RETURNTRANSFER => true,
        CURLOPT_HTTPHEADER     => [
            'Content-Type: application/json',
            'x-api-key: ' . getenv('INBOXVET_API_KEY'),
        ],
        CURLOPT_POSTFIELDS     => json_encode(['email' => $email, 'skipSMTP' => $skipSmtp]),
        CURLOPT_CONNECTTIMEOUT => 2,
        CURLOPT_TIMEOUT        => $timeout,
    ]);

    $body = curl_exec($ch);
    if ($body === false) {
        error_log('InboxVet unreachable: ' . curl_error($ch));
        curl_close($ch);
        return null; // fail open
    }
    $status = curl_getinfo($ch, CURLINFO_RESPONSE_CODE);
    curl_close($ch);

    $data = json_decode($body, true);
    if ($status !== 200 || !is_array($data) || empty($data['success'])) {
        // 401 = bad or missing key; other failures include running out of credits
        error_log("InboxVet HTTP $status: $body");
        return null; // fail open
    }
    return $data['result'];
}

$result = verifyEmail('user@example.com', true);
echo $result ? "{$result['status']}: {$result['reason']}\n" : "Unchecked, accepting (fail open)\n";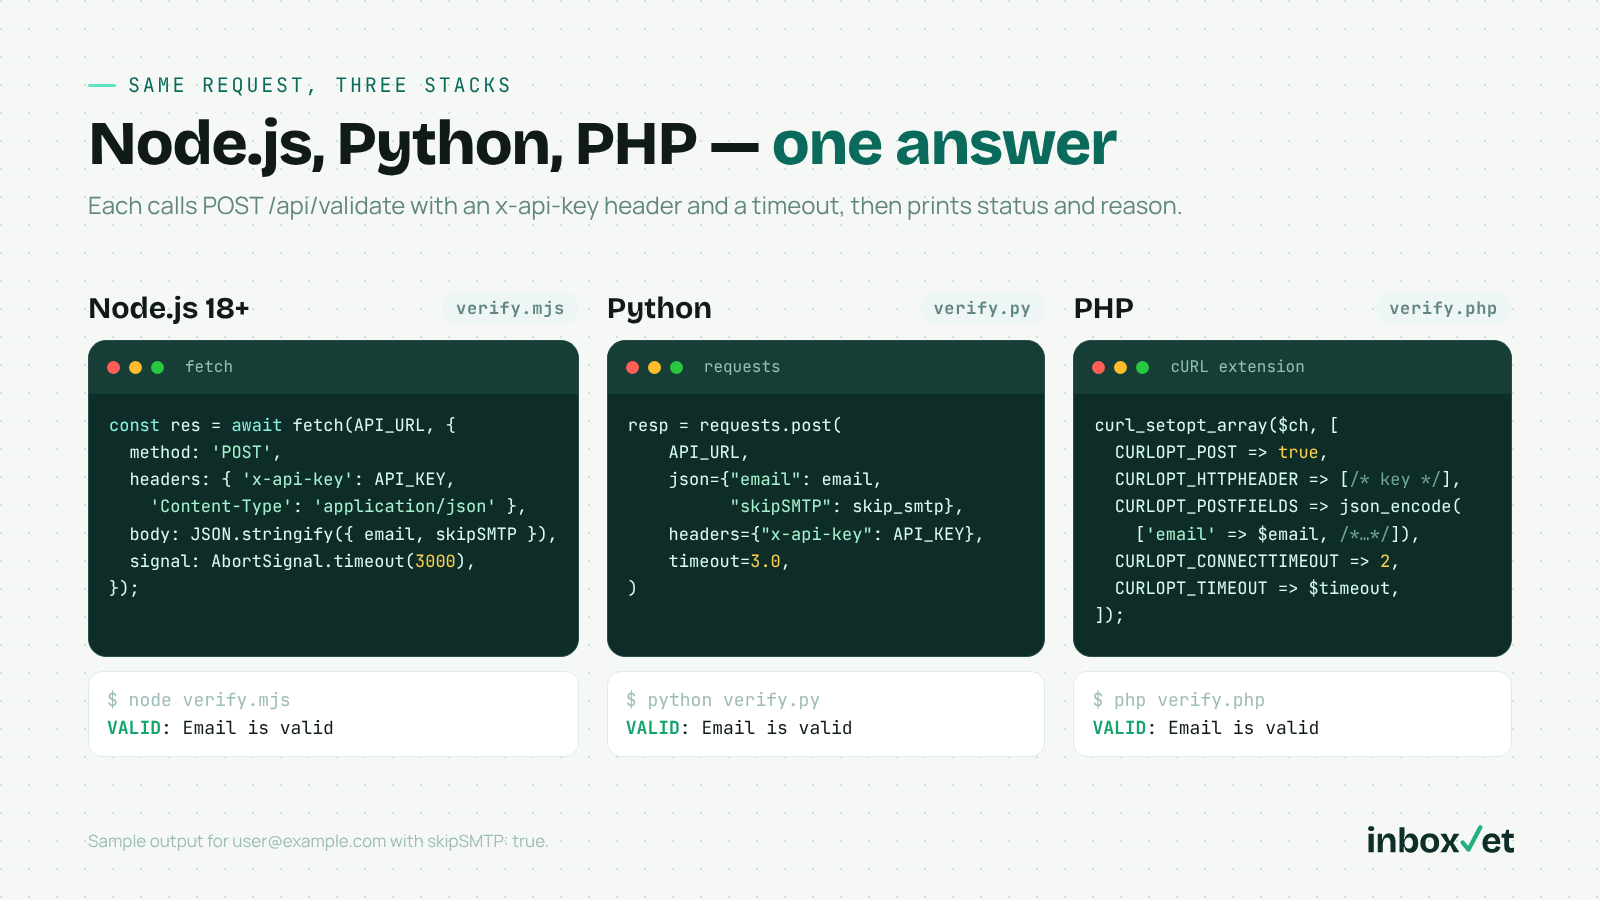
Figure: The same verification call in Node.js (fetch), Python (requests) and PHP (cURL), each returning "VALID: Email is valid" for the sample address.
Step 5: Map Verify Email Address API Fields to User Messages
Never show users a raw reason string or the word "RISKY". Check the specific fields in order and return a helpful message:
| Field / value | What it means | Suggested action and message |
|---|---|---|
syntaxValid: false | Malformed address | Reject: "That email address doesn't look right — please check for typos." |
mxRecordExists: false | Domain can't receive mail | Reject: "We couldn't find a mail server for that domain. Is it spelled correctly?" |
isDisposable: true | Throwaway inbox | Reject or flag: "Please use a permanent email address." |
status: "INVALID" | Address won't receive mail | Reject: "That mailbox doesn't seem to exist. Please double-check it." |
isCatchAll: true / status: "RISKY" | Mailbox can't be confirmed | Accept, flag internally, confirm with double opt-in |
status: "VALID" | Passed all checks run | Accept |
Here's that logic as a small Node.js function you can drop next to verifyEmail:
export function decide(result) {
  if (!result) return { accept: true, flag: 'unverified' }; // fail open
  if (!result.syntaxValid) return { accept: false, message: "That email address doesn't look right. Please check for typos." };
  if (!result.mxRecordExists) return { accept: false, message: "We couldn't find a mail server for that domain." };
  if (result.isDisposable) return { accept: false, message: 'Please use a permanent email address.' };
  if (result.status === 'INVALID') return { accept: false, message: "That mailbox doesn't seem to exist." };
  if (result.status === 'RISKY') return { accept: true, flag: 'risky' };
  return { accept: true };
}
Whether to block disposable addresses outright is a product decision: a free trial probably should, a newsletter might simply flag them. More guidance is in our email validation best practices.
Step 6: SMTP or No SMTP?
An SMTP email verification API call talks to the recipient's mail server to ask whether the mailbox exists. It's the deepest check, and it takes longer. A practical split:
· Inline as the user types or on blur: skipSMTP: true for a quick syntax, MX, disposable and catch-all check.
· On final submit or in a background job: skipSMTP: false for the full mailbox check.
· Bulk list cleaning: full check, since nobody is waiting on the response.
Each request costs one credit either way, so calling twice per signup doubles usage. Many teams only run the full check on submit.
Step 7: Verify a List With the Batch Endpoint
For backfills and imports, POST https://inboxvet.com/api/validate/batch accepts up to 1,000 emails per request and returns a results array with the same fields. This script dedupes the list, then sends it in chunks of 1,000:
// batch.mjs — Node.js 18+
const BATCH_URL = 'https://inboxvet.com/api/validate/batch';
const CHUNK = 1000; // API maximum per request

export async function verifyBatch(emails) {
  const unique = [...new Set(emails.map((e) => e.trim().toLowerCase()))];
  const results = [];
  for (let i = 0; i < unique.length; i += CHUNK) {
    const res = await fetch(BATCH_URL, {
      method: 'POST',
      headers: { 'Content-Type': 'application/json', 'x-api-key': process.env.INBOXVET_API_KEY },
      body: JSON.stringify({ emails: unique.slice(i, i + CHUNK), skipSMTP: false }),
      signal: AbortSignal.timeout(120000), // generous timeout for large batches
    });
    const data = await res.json().catch(() => null);
    if (!res.ok || !data?.success) {
      throw new Error(`Batch failed at offset ${i}: HTTP ${res.status}`);
    }
    results.push(...data.results);
    console.log(`Verified ${results.length}/${unique.length}; credits left: ${data.creditsRemaining}`);
  }
  return results;
}

const out = await verifyBatch(['user@example.com', 'USER@example.com ', 'someone@example.org']);
console.log(out.map((r) => `${r.email}: ${r.status}`).join('\n'));
Unlike the signup flow, the batch script throws on failure, so you can fix the cause (a bad key or empty balance) and resume from the logged offset. Deduping first saves credits. For lists in the hundreds of thousands, see our guide to bulk email verification at 100k+ scale.
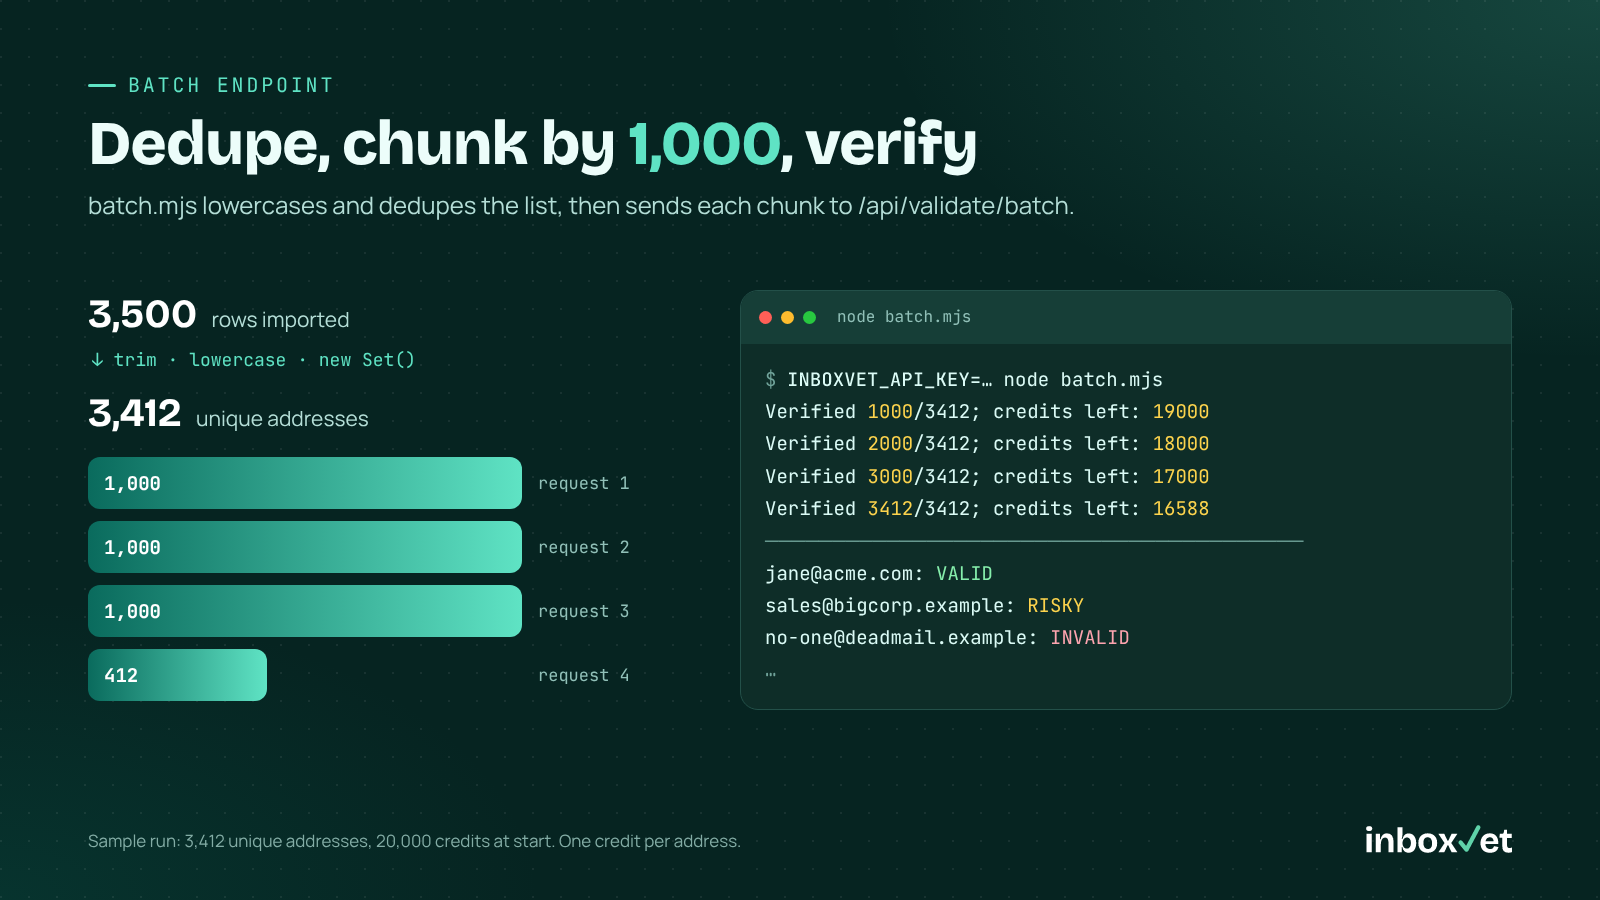
Figure: A sample batch run — the list is deduped, split into chunks of up to 1,000 and sent to /api/validate/batch, logging progress and credits left after each request.
Production Checklist
· API key in an environment variable or secrets manager, never in client code or git.
· Timeout on every request (2–5 seconds for signups).
· Fail open on signup paths; queue unverified addresses for a retry.
· Alert on 401 responses — they mean the key is wrong or missing.
· Track creditsRemaining and top up before you hit the insufficient-credits error. InboxVet never auto-charges.
· Rate-limit your own verification endpoint so bots can't burn your credits.
· Store the result with the user record so you don't re-verify on every login.
How Other Email Validation APIs Compare for Developers
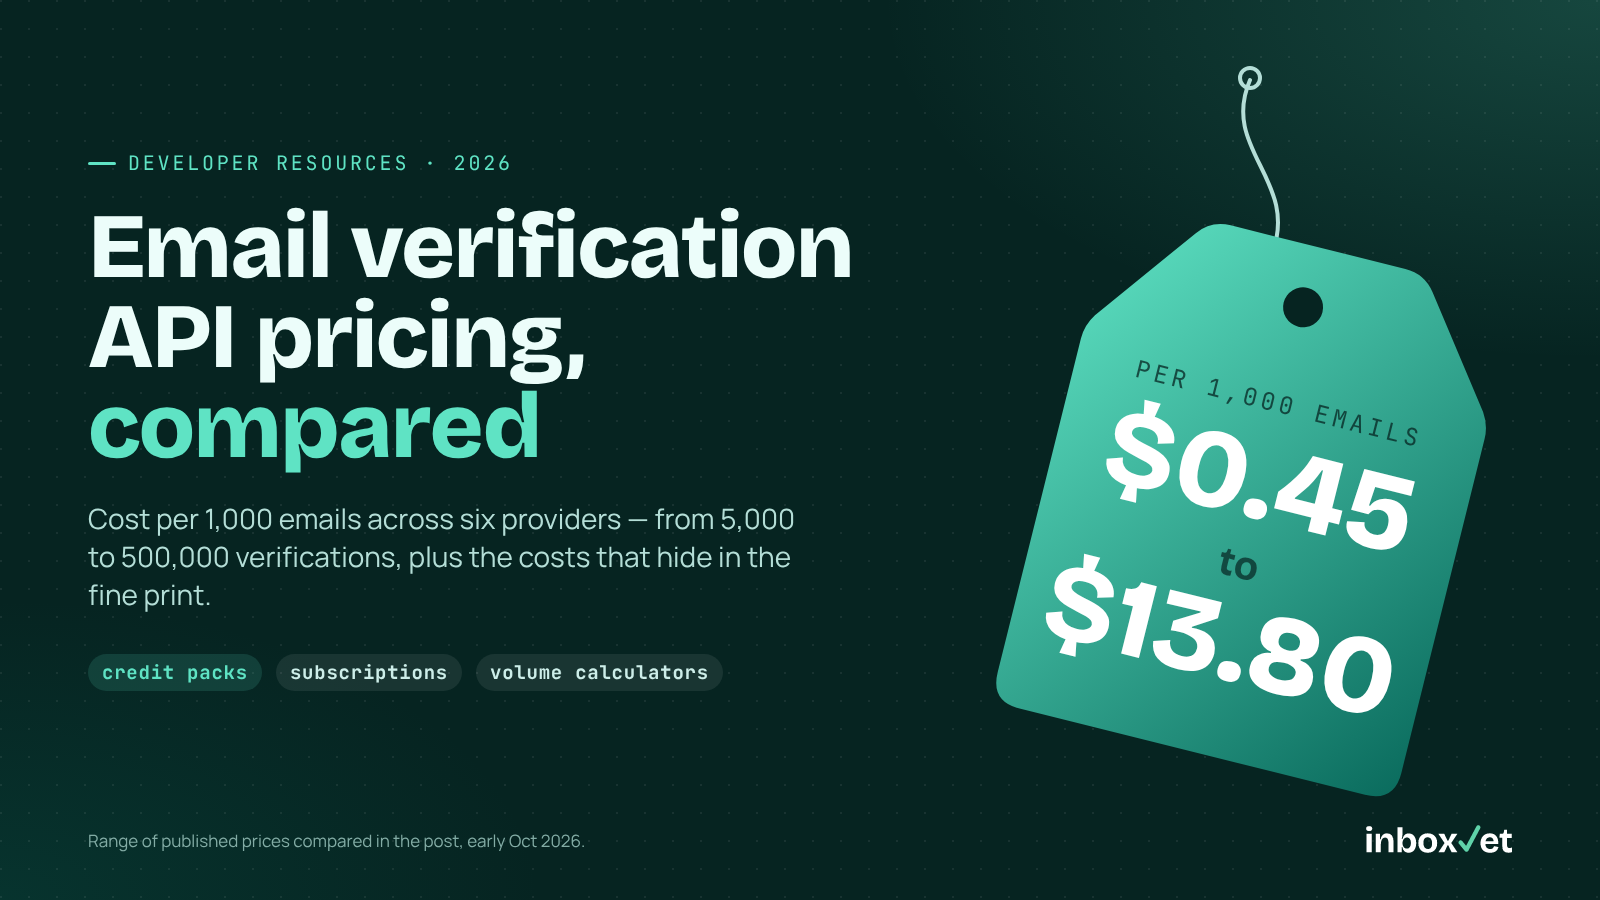
ZeroBounce, NeverBounce, Kickbox and InboxVet all offer REST APIs authenticated with an API key, so the integration pattern above carries over. The exact endpoint, how the key is passed and the response field names differ, so check each vendor's docs. The bigger practical differences are free credits and pricing:
| Provider | Free credits | Cost for 10,000 checks | Credit expiry |
|---|---|---|---|
| InboxVet | 100 on signup | $50 (2 × Starter, $5.00 per 1,000) | Never |
| ZeroBounce | 100/month on free account | $129 | Depends on account creation date — check current terms |
| NeverBounce | ~1,000 trial verifications | $80 pay-as-you-go, or $49/mo Growth plan | 12 months (pay-as-you-go) |
| Kickbox | 100 | $70 | 12 months |
Competitor prices checked from public pricing pages in early October 2026 — confirm on the vendor's site before buying.
Each has real strengths: ZeroBounce a mature deliverability suite with AI scoring, NeverBounce strong CRM sync (Salesforce, HubSpot, Marketo), Kickbox a polished UI and Sendex score. InboxVet offers a generous free tier, low pay-as-you-go pricing with credits that never expire, and a skipSMTP toggle. For a deeper look at choosing an API, read our developer's guide to email validation APIs.
Frequently Asked Questions (FAQ)
Q: Can I call a verify email address API directly from the browser?
A: You shouldn't. Anyone can read a key embedded in front-end code. Send the address to your backend and call the API from there.
Q: What does smtpValid: null mean?
A: It means the SMTP mailbox check wasn't run, because the request set skipSMTP: true. Set it to false for the full check.
Q: What happens if I run out of credits?
A: The API returns an insufficient-credits error and nothing is charged automatically. With fail-open code like the examples above, signups keep working while you top up.
Q: How many emails can I send in one batch request?
A: Up to 1,000 per request to /api/validate/batch. Split larger lists into chunks, or upload a CSV in the dashboard.
Q: Should I reject RISKY addresses?
A: Usually not at signup. RISKY often means a catch-all domain where the mailbox can't be confirmed. Accept, flag it, and rely on double opt-in or engagement to confirm.
Q: Can I test without writing code?
A: Yes. Try single addresses in the free email verifier, then move to the API once you're happy with the results.
Ship Your First Verification Today
You now have working verify email address API code in four languages, a field-to-message mapping, a batch script and a production checklist. Grab a key, run the cURL command, then drop your stack's function into your signup handler.
Try InboxVet Free — Get your API key and 100 free credits at inboxvet.com